Enter
Enter Entries Open 01 March - 30 April
2024 Energetiks Dance Competition dates: Saturday 21 September - Saturday 05 October
We have partnered with Stardom eisteddfod management system for entries and event management. Song titles, music files and DLPs can all be uploaded in preparation for the event.
A Stardom account is required to enter.

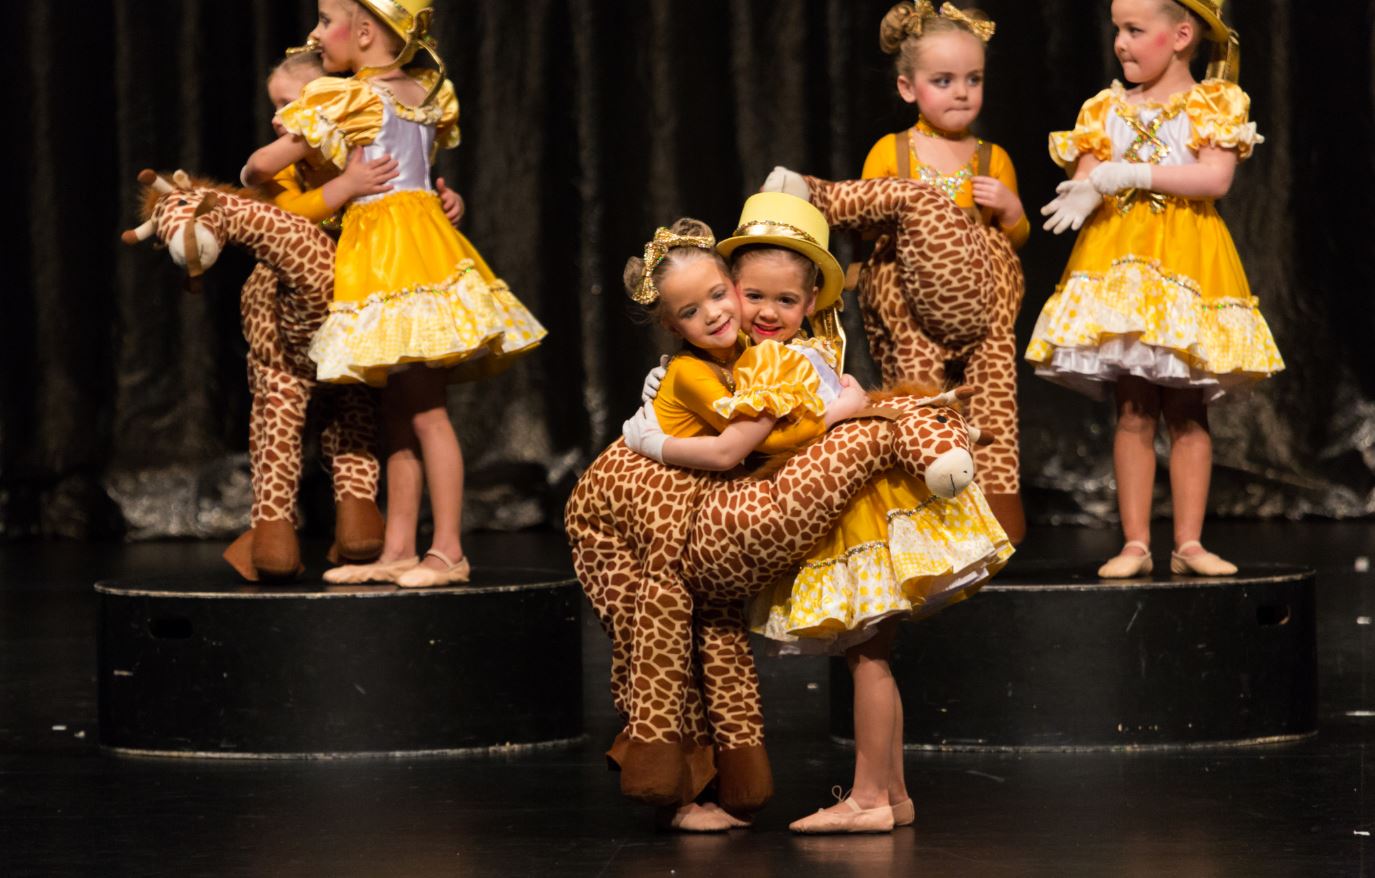
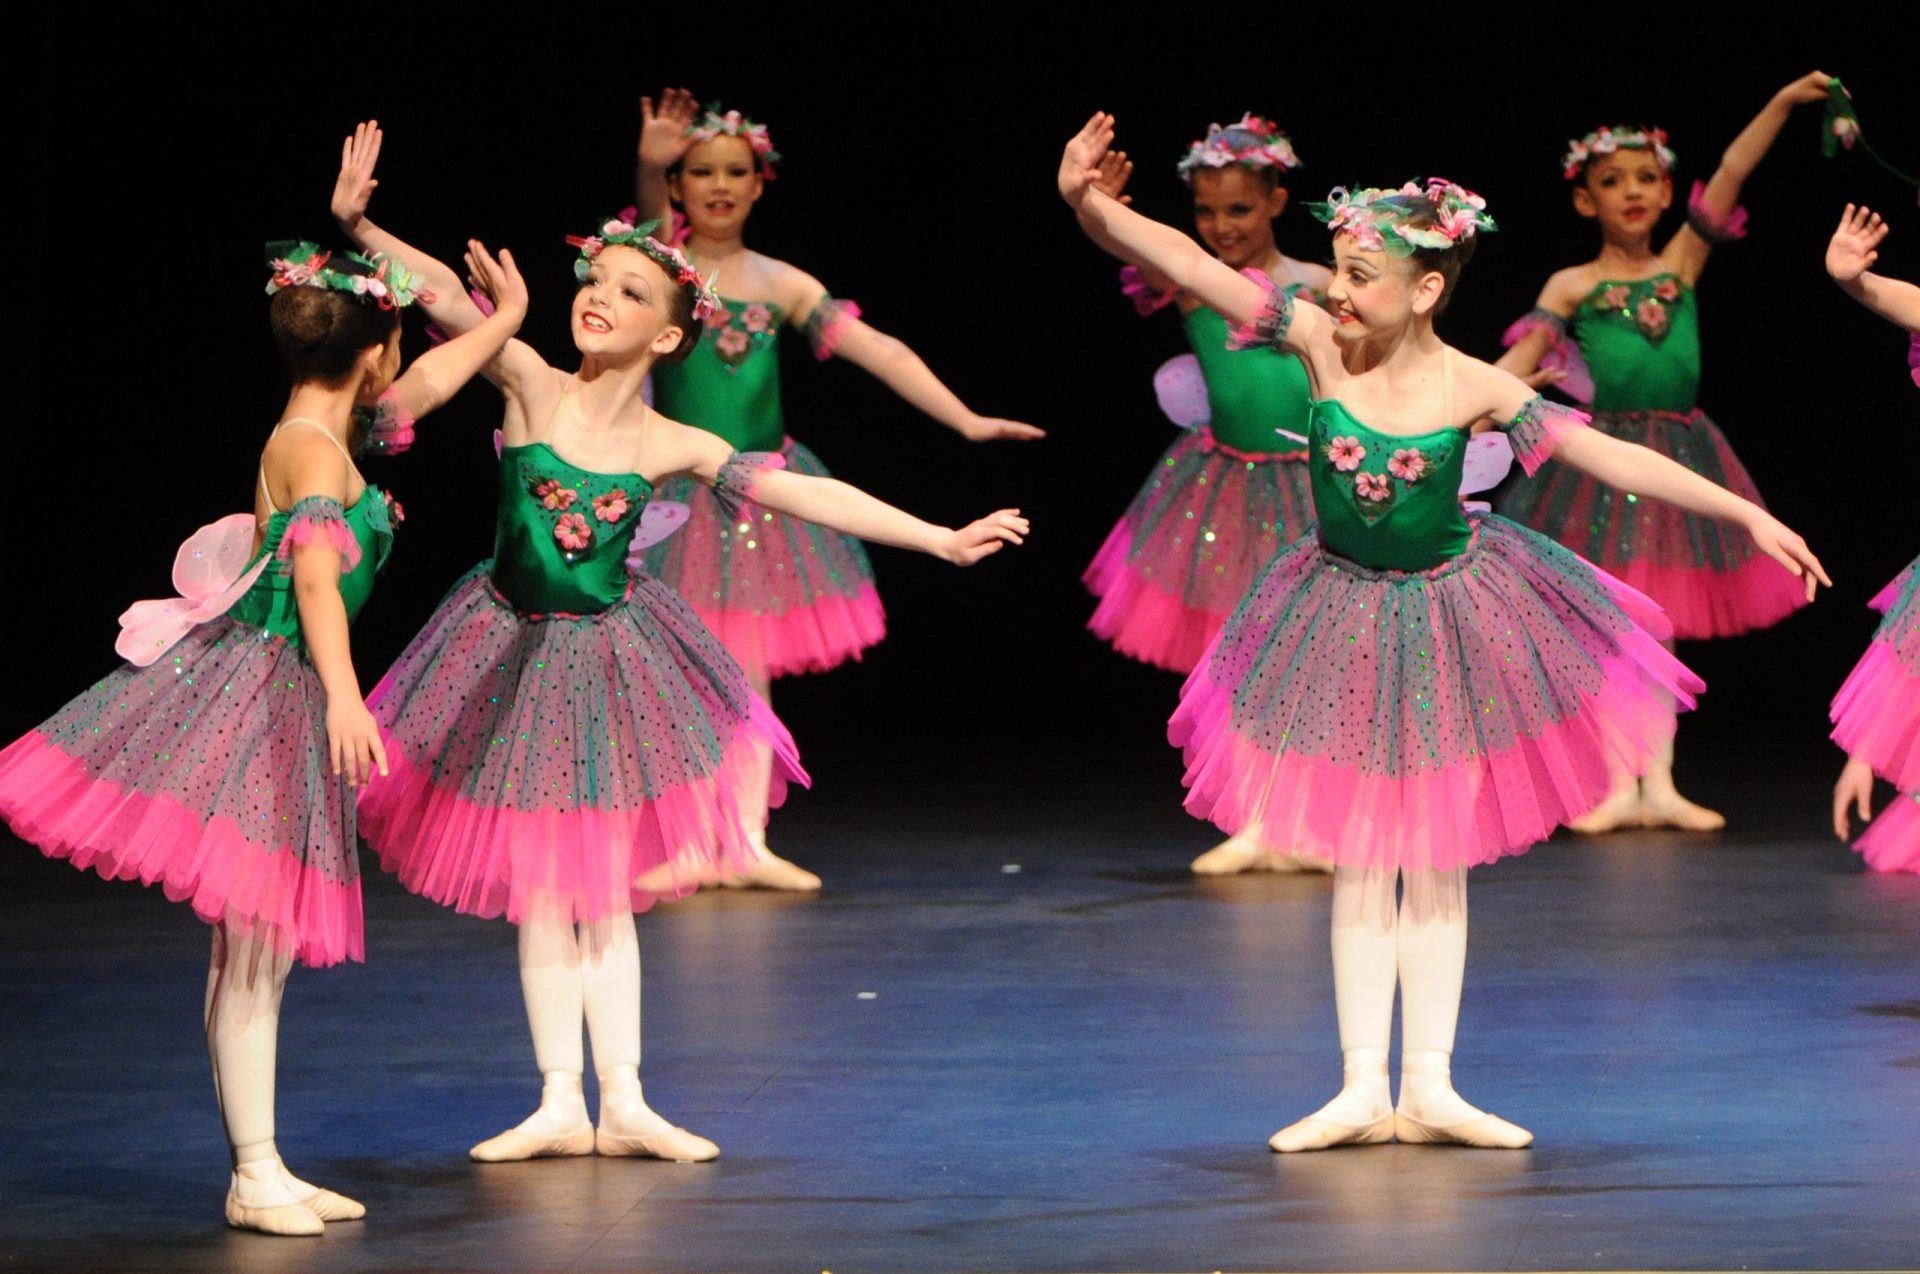
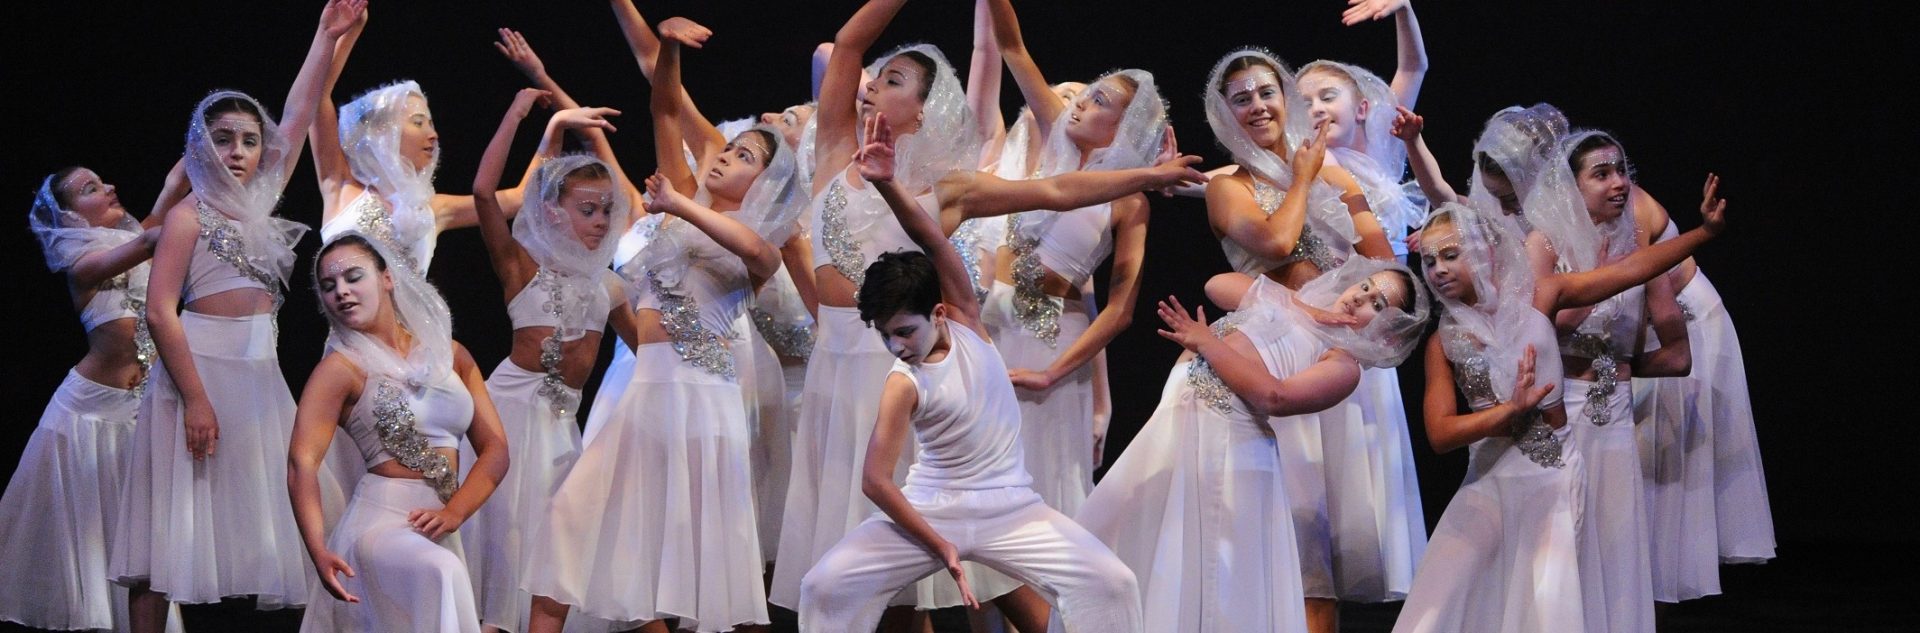
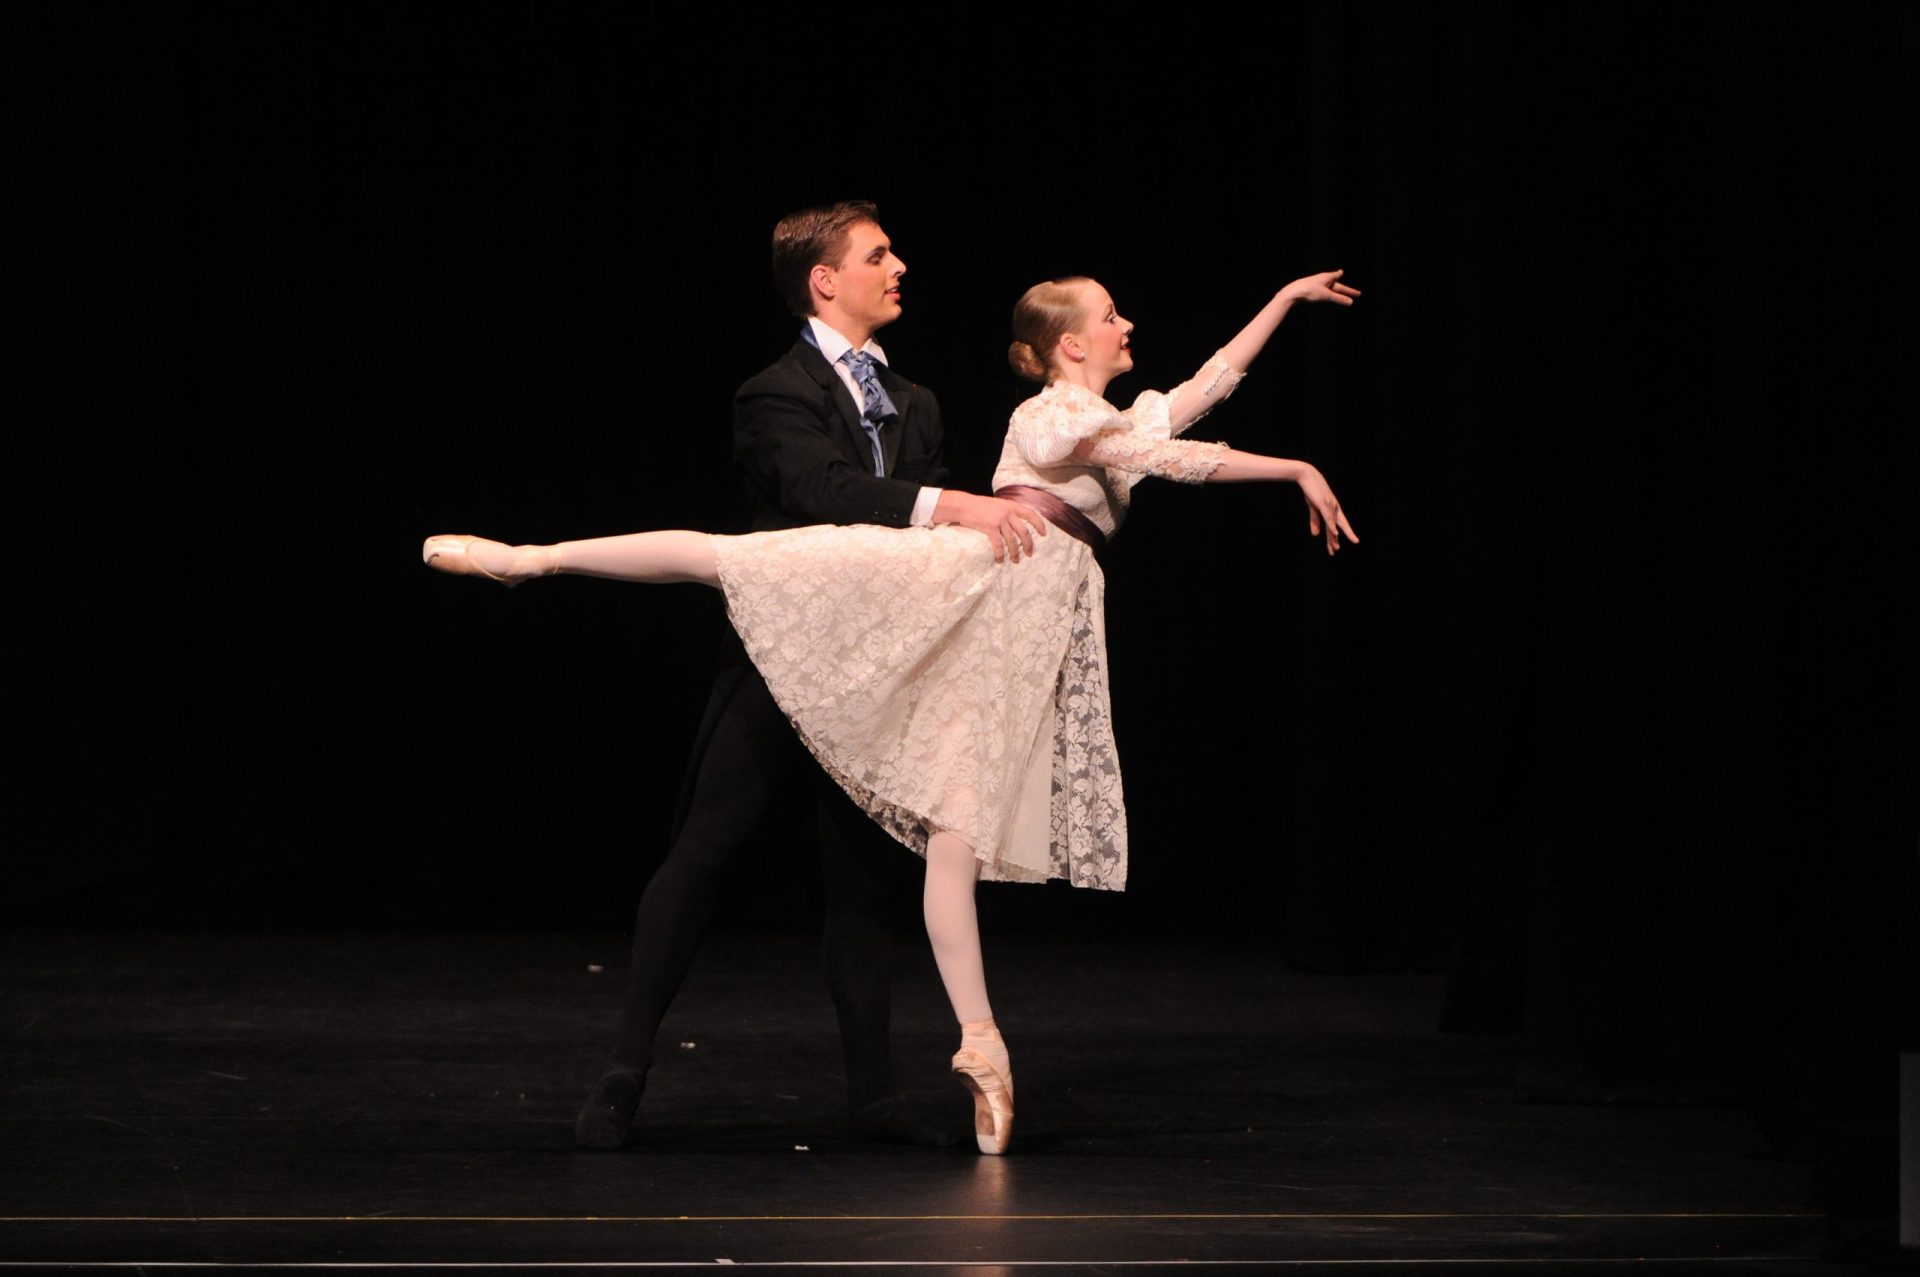
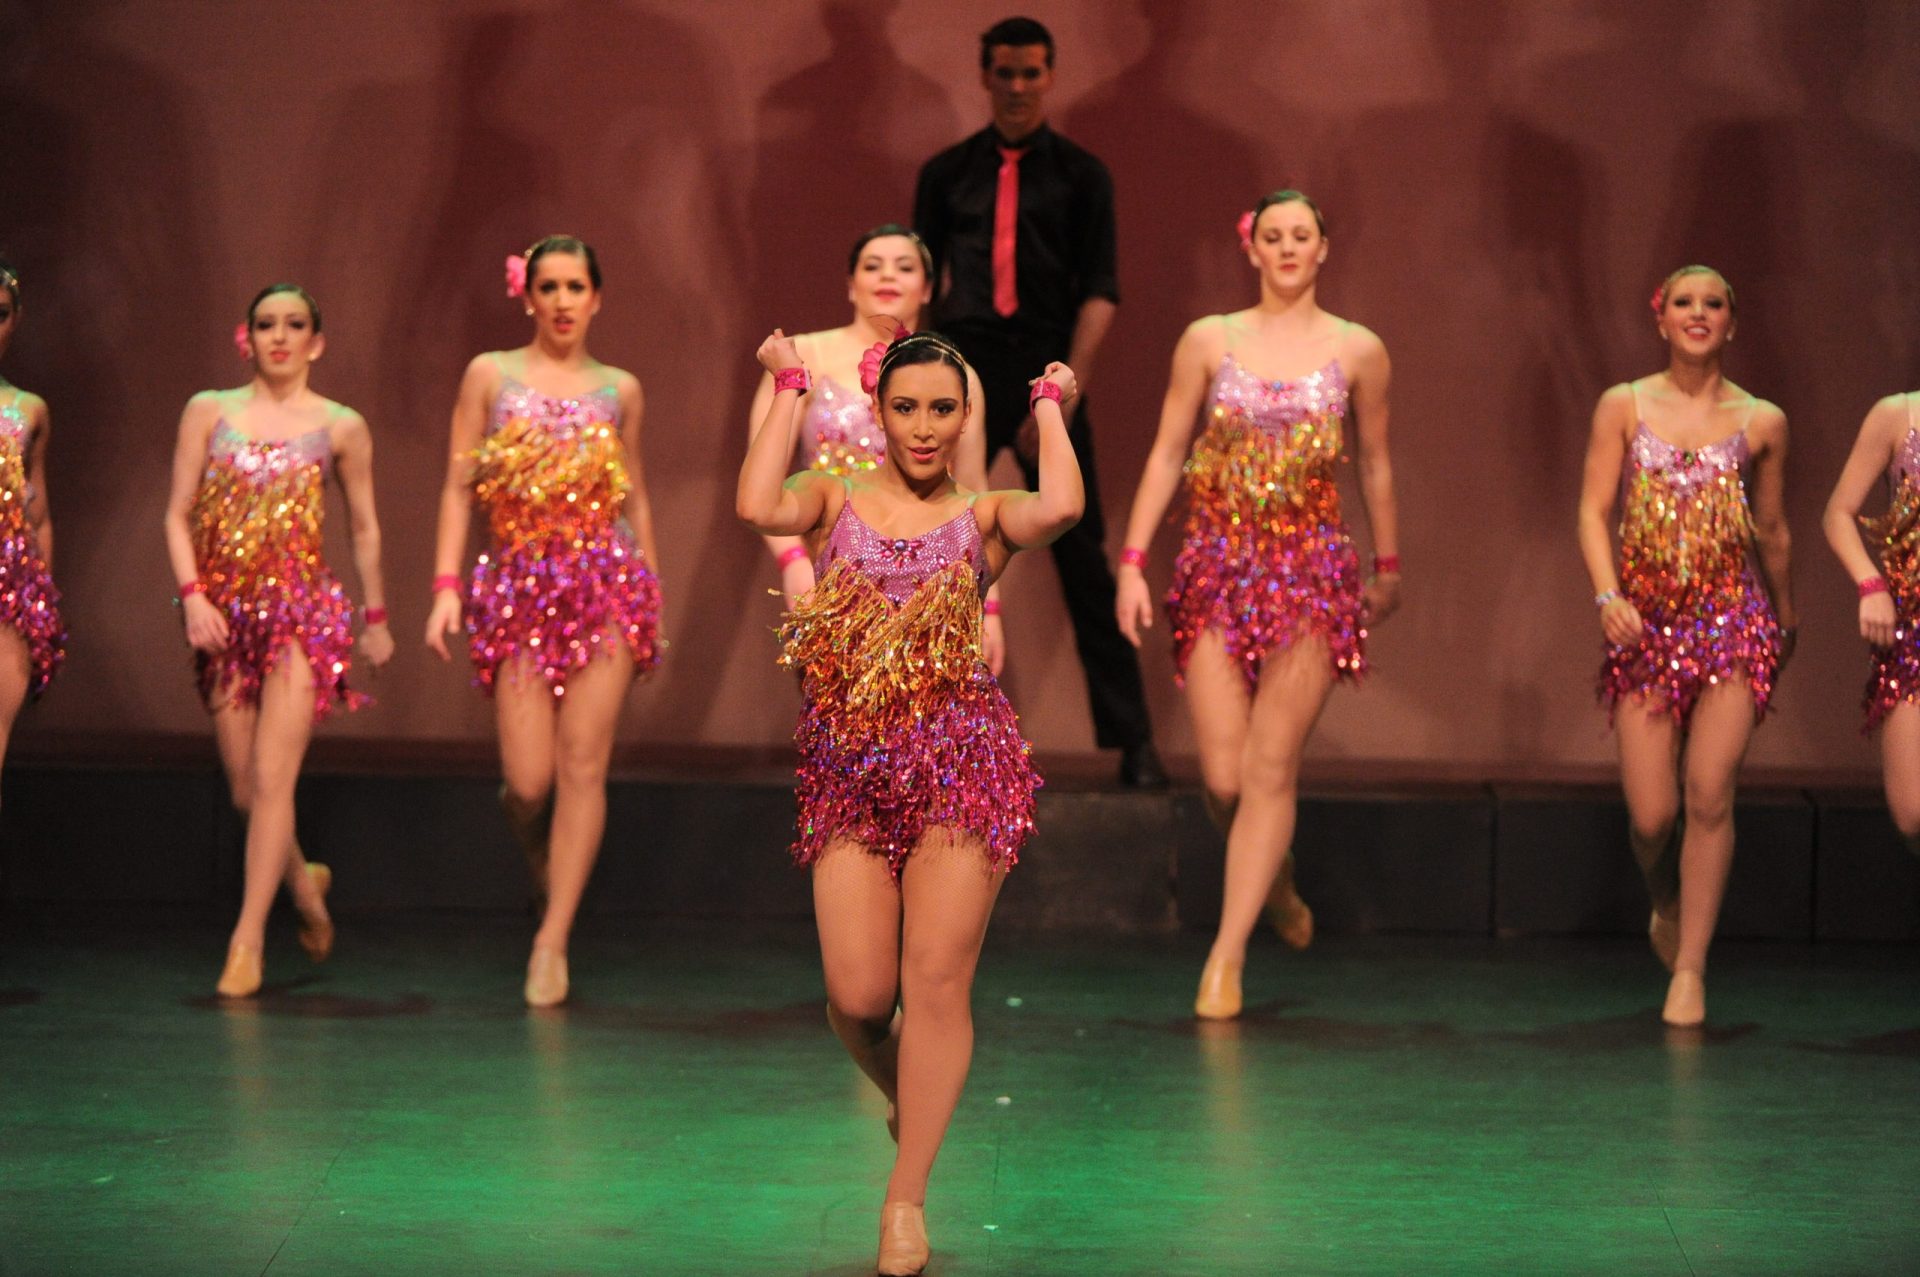
Energetiks Dance Competition
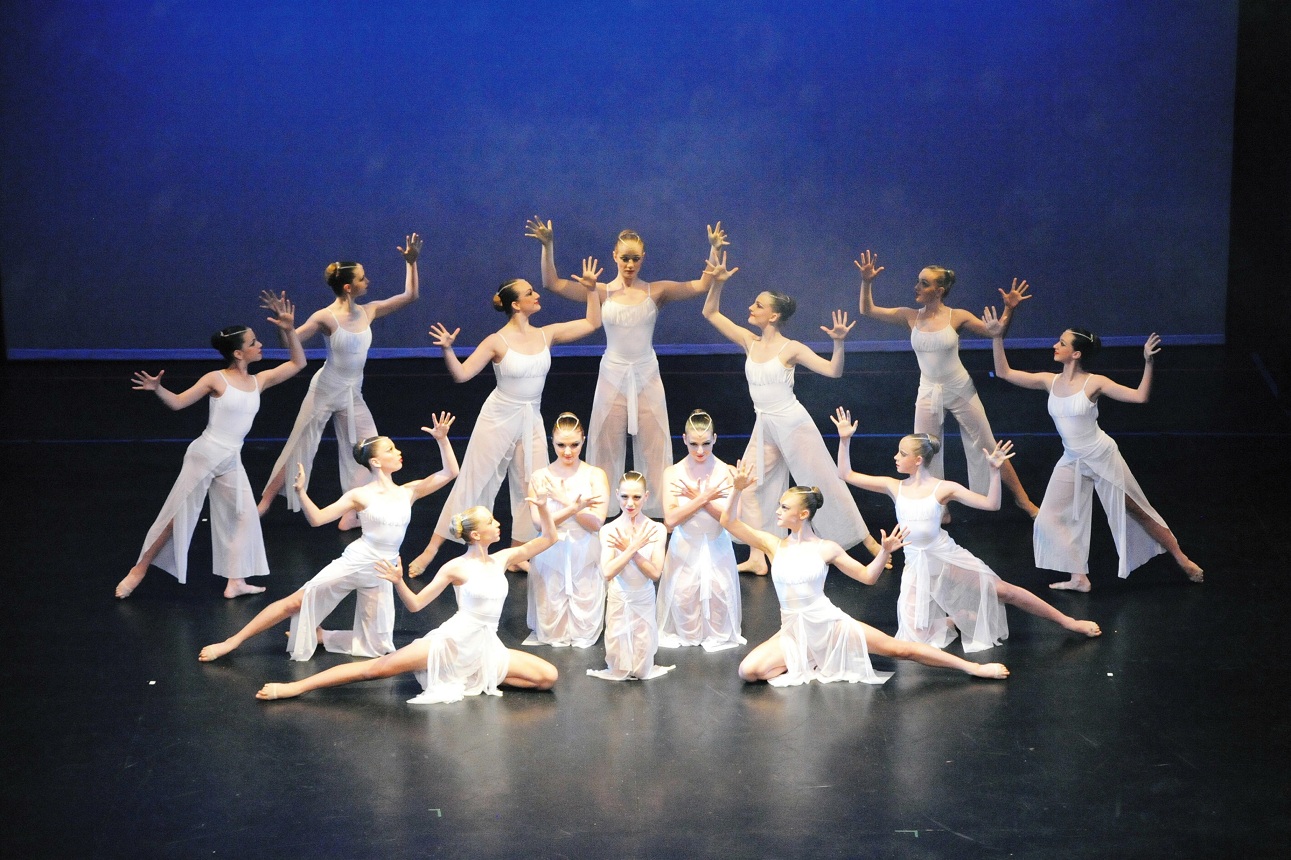
Get ready to be thrilled and delighted by the Royal South Street Society Ballarat Eisteddfod, Australia’s premier Eisteddfod, igniting the stage with extraordinary performance opportunities since 1891.
Be part of one of Australia’s most prestigious dance competitions – the Energetiks Dance Competition.
Providing novice, general and championship sections, the Eisteddfod offers a unique chance for personal growth and improvement. Our platform is a transformative journey where performers can refine their skills, boost their confidence, and unlock their full potential. Join us on this path to self-discovery and artistic excellence.
For ages Under 6 years to Open Ages
Classical, Demi-Character, Neo-Classical, Modern, Lyrical, Contemporary, Tap, Jazz, Song & Dance, Song & Tap, Theatrical, Hip/Hop/Funk, Solos, Troupes, Duo & Trios.
Solo and Troupe Aggregate Awards.
Championships
Senior Championships
- Coltman Senior Classical Ballet Championship
- Pirouette Modern Championship
- SCIMM Contemporary Championship
- UFS Senior Theatrical Championship
- UFS Senior Tap Championship
- Sovereign Press Senior Jazz Championship
Intermediate Championships
- Dr A.M Cole Intermediate Classical Ballet Championship Solo
- Intermediate Jazz Championship Solo
- Intermediate Tap Championship Solo
- Intermediate Junior Theatrical Championship
Junior Championships
- Ballarat Ballet Guild Junior Classical Ballet Championship Solo
- Junior Jazz Championship Solo
- Junior Tap Championship Solo
- Junior Modern Championship Solo


News


")


![RSSS BANNER[2]](https://royalsouthstreet.com.au/wp-content/uploads/RSSS-BANNER2.jpg "RSSS BANNER[2]")
Stories
Learn more about the Dance discipline from our collection of stories, historical records and media....


Explore
Explore our history timeline
Our Royal South Street Society Ballarat Eisteddfod has staged extraordinary dance performances since 1891.
1937
1938
As part of Ballarat’s Centenary year, a “Back to South Street Vocal Championship” is held and is open to all former competitors.
The Champion Juvenile Choral Contest is re-named the Choral Contest Under 16 years of age, and Dancing and Calisthenics become separate sections, with the suggestion that Greek Dancing be added to the mix.
Ballarat’s Floral Festival begins and its first floral carpet is displayed.
The Ballarat National Theatre is founded and the first production, ‘The Barretts of Wimple Street, is performed at the Alfred Hall.
1981
The competition introduces the Open Classical Ballet solo for dancers over 16 and South Street gains permission for bands to march down Sturt Street but not outside churches on Sunday morning.
Ballarat baritone, Roger Lemke, wins the Courier/3BA Ballard and Star for Opera Quest, following in the footsteps of his father, Robert Lemke.
1982
Dance gains in popularity as new competition items are added to the competitions repertoire including: the Ballarat Ballet Guild Junior Ballet Championship, the Modern Dance Piroutte Championship Solo and the Don West Operatic Senior Ballet Championship.
A special prize of $100 is donated to commemorate the 150th anniversary of the birth of poet Adam Lindsay Gordon. A keen horseman, Gordon lived in Ballarat for a short time, where he rented stables at Craig’s hotel and joined the Ballarat Troop Lighthorse.
1984
David Kierce wins the Nijinsky Prize for Classical Ballet and goes on to train with the Australian Ballet. Principal Dancer with the Queensland Ballet, the Joffrey Ballet, BalletMet Columbus and Northern Ballet, he has also taught at the English National Ballet School.
1985
Roger Lemke continues to impress the judges and wins the Sun Aria.
“The Sun Aria was the most prestigious competition of all, the one I really wanted to win”.
The Memorial Theatre finds itself in desperate need of repairs and renovation with funding sought from State and Federal government.
1991
Royal South Street Society celebrates 100 years of competitions with a stellar cast of stars past and present performing in a special centenary concert – with dancers David Kierce and Joanne Bradley and former Sun Aria winners Rosemary Boyle and Raymond Myers. And the Sun Aria changes it name to the Herald Sun Aria.
The Premier of Victorian, the Hon. Joan Kirner, also a past South Street winner, officially opens the competitions.
Jan Russ, casting director for Neighbours, is appointed Adjudicator for the TV auditions and one successful prize winner gets a guernsey and joins Ramsay Street locals on the long running Australian soap.
A special Centenary Essay Competition is launched with winners presented with specially struck Centenary medallions and prize money.
Mrs Barb Dunlop becomes the first female to be elected to the Royal South Street Society Committee.
1994
Richard Bayly is awarded an Order of Australia for services to music and the Most Graceful Girl Competition celebrates a 70th birthday.
Dancing sections prove more popular than ever with two thirds of competitors travelling from Melbourne and the Courier Ballad is held in the Diocesan Centre due to an overwhelming number of entries.